from this ( shiemz , akak pinjam gambo Hadzeq ya )to this
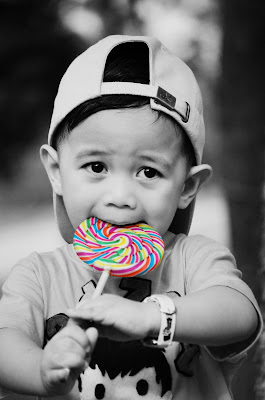
Tgh draft , kalau sempat siap , i published today kay
1 - Bukak gambar yg nak di kerjakan ...n di hancuskan
2- Duplicate Layer . Layer > Duplicate Layer

3- Jadikan layer baru itu BNW dengan Image > Adjustment > Desaturate
 anda akan ada 2 layer . Layer asal yg bewarna n layer baru yg tak bewarna
 4- Skrg gambar anda adalah bnw . Kalau anda peratikan anda ada 2 layer . 1 yg bewarna n 1 yang bnw . Amik eraser tool . Pilih size yg sesuai ...pastikan anda berada di layer bnw . Padam bahagian gula gula tew / bahagian yg anda nak bewarna ....padam mana mana bnw yg patut sehingga dapat seperti yg anda kehendaki
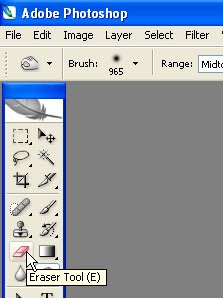
set kan size brush anda
 sila padam cam anda pakai pemadam betol ...carefull padamkan bahagian yg anda kehendaki . Ctrl plus + utk zoom n Ctrl plus - utk unzoom.
 setelah siap ....
5 - Layer > flaten layer
6 - save as > nama file yg anda nak
7 - siap .
Selamat mencuba .
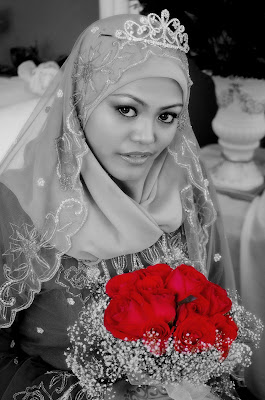
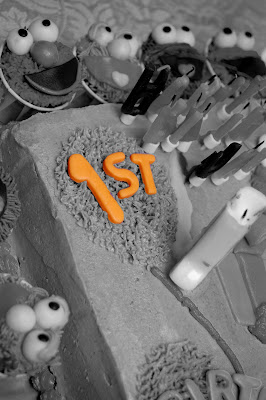
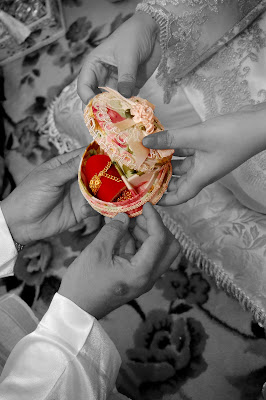
contoh lain yg menggunakan teknik yg sama


NOTE :
to make this more intresting ....send me hasil editing anda ( max 3 pic) ...best pic akan di beri hadiah . Hadiah nya adalah 1 A4 printout on a metalic paper gambar anda itew . Keputusan adalah muktamad ..penilaian berdasarkan kekemasan hasil kerja anda n the one that catch my attention ...lol . Tarikh tutup nya adalah 14 Oct 2008 .
send it to : munirah301@yahoo.com
Kalau ada yg hantar 2 atau 3 keping, moon letak ak kat sini 1 je kay ..kalau letak semer tak suspen laks .
Pic from Linda yani
 From Siti , somethiing different ...anda ley bley biarkan background bewarna
 From pengantin baru ...Yana
 From Along , wah nih dah advance...bnw + color + sketch ....
 Daripada Reen
 From Anne
 From Eliza
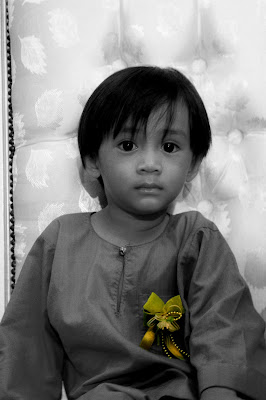 From Mariah
 From Waniey
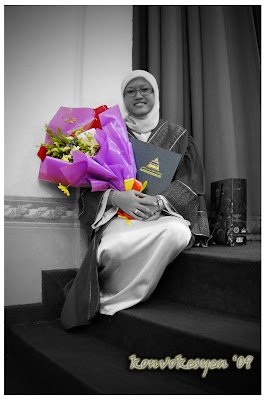 From Hasnor
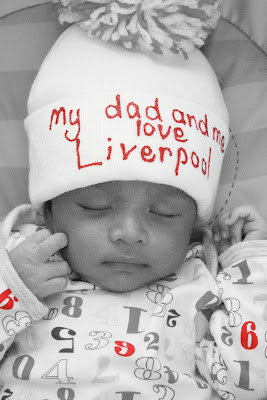 From Saliza
From Munirah ( bukan ai kay , nama kita org je yg sama )
.jpg) - teruskan menghantar ya u olssssssssssss. koz ia nya sangat mudah . just follow the step ...insyaallah suksessss suksesss
- teruskan menghantar ya u olssssssssssss. koz ia nya sangat mudah . just follow the step ...insyaallah suksessss suksesss* im not a profesional photo editor ke graphic student ke hapa kay . Moon tak pernah pegi mana mana course . so apa yg moon share kan di sini are based on my own knowledge ...kalau ada apa apa kekurangan harap maafkan yer
aduyaii .. dh lama x berjimba2 dgn photoshop...
ReplyDeleteha nih la masanya utk panaskan enjin balik
ReplyDeleteAik..mcku kenal sajer. hehehe
ReplyDeletegood sharing moon :)
ReplyDeletethanks moon!!! mmg nk sgt buat camni. akan dicuba(tp wajib lah cari program photoshop dulu)
ReplyDeletehaah lah..lama juga tak menggodek dgn mr.photoshop ni!
ReplyDeleteyong suka editing ni..
haah lah..lama juga tak menggodek dgn mr.photoshop ni!
ReplyDeleteyong suka editing ni..
nak try la... kot2 moon suka bley dapat print gambo free..hehehe
ReplyDeletemooooonnnnn. i lap u!!!!
ReplyDeletei dah cube, n sgt suka.
i yg buta IT ni boleh paham...tu yg paling bes tu!
sila lah ajar lagii
munirah , nanti mail me your hasil ..ai nak tgkkkkkkkkkkkkkkk
ReplyDeletewaahhh gitu ke caranya...now i know..nk try nk try!
ReplyDeleteni baru betul guru..hahahaha..
ReplyDeletejgn pasni ada monthly fee udoh lerrrr..
yabedabeduuu...dh jd...tq..huhu suke2 :P
ReplyDeleteSis,kuttop(lpatop) Cik Cookie xda software nih.hohoho...tapi cam best giteww.harus cuba.
ReplyDeletesudah =)
ReplyDeletemakcik ...hantar la to my mail ....hahah . jgn lupa anta tauuuuuuuu
ReplyDeleteakak moon...best la belajar guna photoshop nie....thank tau...lain kali leh ajak lg.....
ReplyDeletecikgu moon kene organise basic class of photoshop la moon..gee haram tk reti..walhal ada je kt laptop dia..
ReplyDeletennt gee free..gee try2 la cm yg cikgu moon aja nehh..
wow! u r brilliant..thanx sharing....me 1st time here...blog hopping! hehe..anyway welcome to my blog, leave your link so i can track your back and club link u as well ok :')
ReplyDeletehi moon.. bila due date ni? nk submit isnin depan :D
ReplyDeleteneway... ive been ur reader since jaman FP lagik..
yeeyyy!! ;D
ReplyDeletekite da send dah...
mane tau kot akak berkenan..
leh gak wat frame kat bilik..
hikhik ;p
sis moon, eli dh emel >_<
ReplyDeletehai,,
ReplyDeletenk gne adobe photoshop versi ape?
issshhkkk...ku ketinggalan ketapi la moon...sibuk ngan arragement tuk open house opis ni la jadinya..x smpat nk mnyinggah blog mu...x pe la ku blajar benda baru ari ni..wlupun lmbat...hehehe
ReplyDeletesgt suka.... kalau blh moon buat la byk2 sikit tutorial.. org mcm kami x mampu nak g kelas mahal2.. sy suka godek PS gak tp x kreatif... edit sikit2 je
ReplyDeletemekasih diatas ilmu yg sgt berguna nie
kak,,wat la tutorial lg pasalgune adobe nieyh,,,
ReplyDeleteKak moon..nk mintak tolong.. saya xdpt jumpa la layer > flatten layer .., saya guna photoshop cs4. bile klik kt flatten image x jadi pulakk... T_T
ReplyDelete